Getting Started
Backblaze B2 Cloud Storage
Backblaze B2 is a cost-effective S3-compatible object storage provider at around $6.95/TB/month. It's probably the easiest account to set up, and great for 1 to 1 transfers given it's free 3x storage egress policy. If you need to flex up, additional egress is charged predictably at $0.01/GB
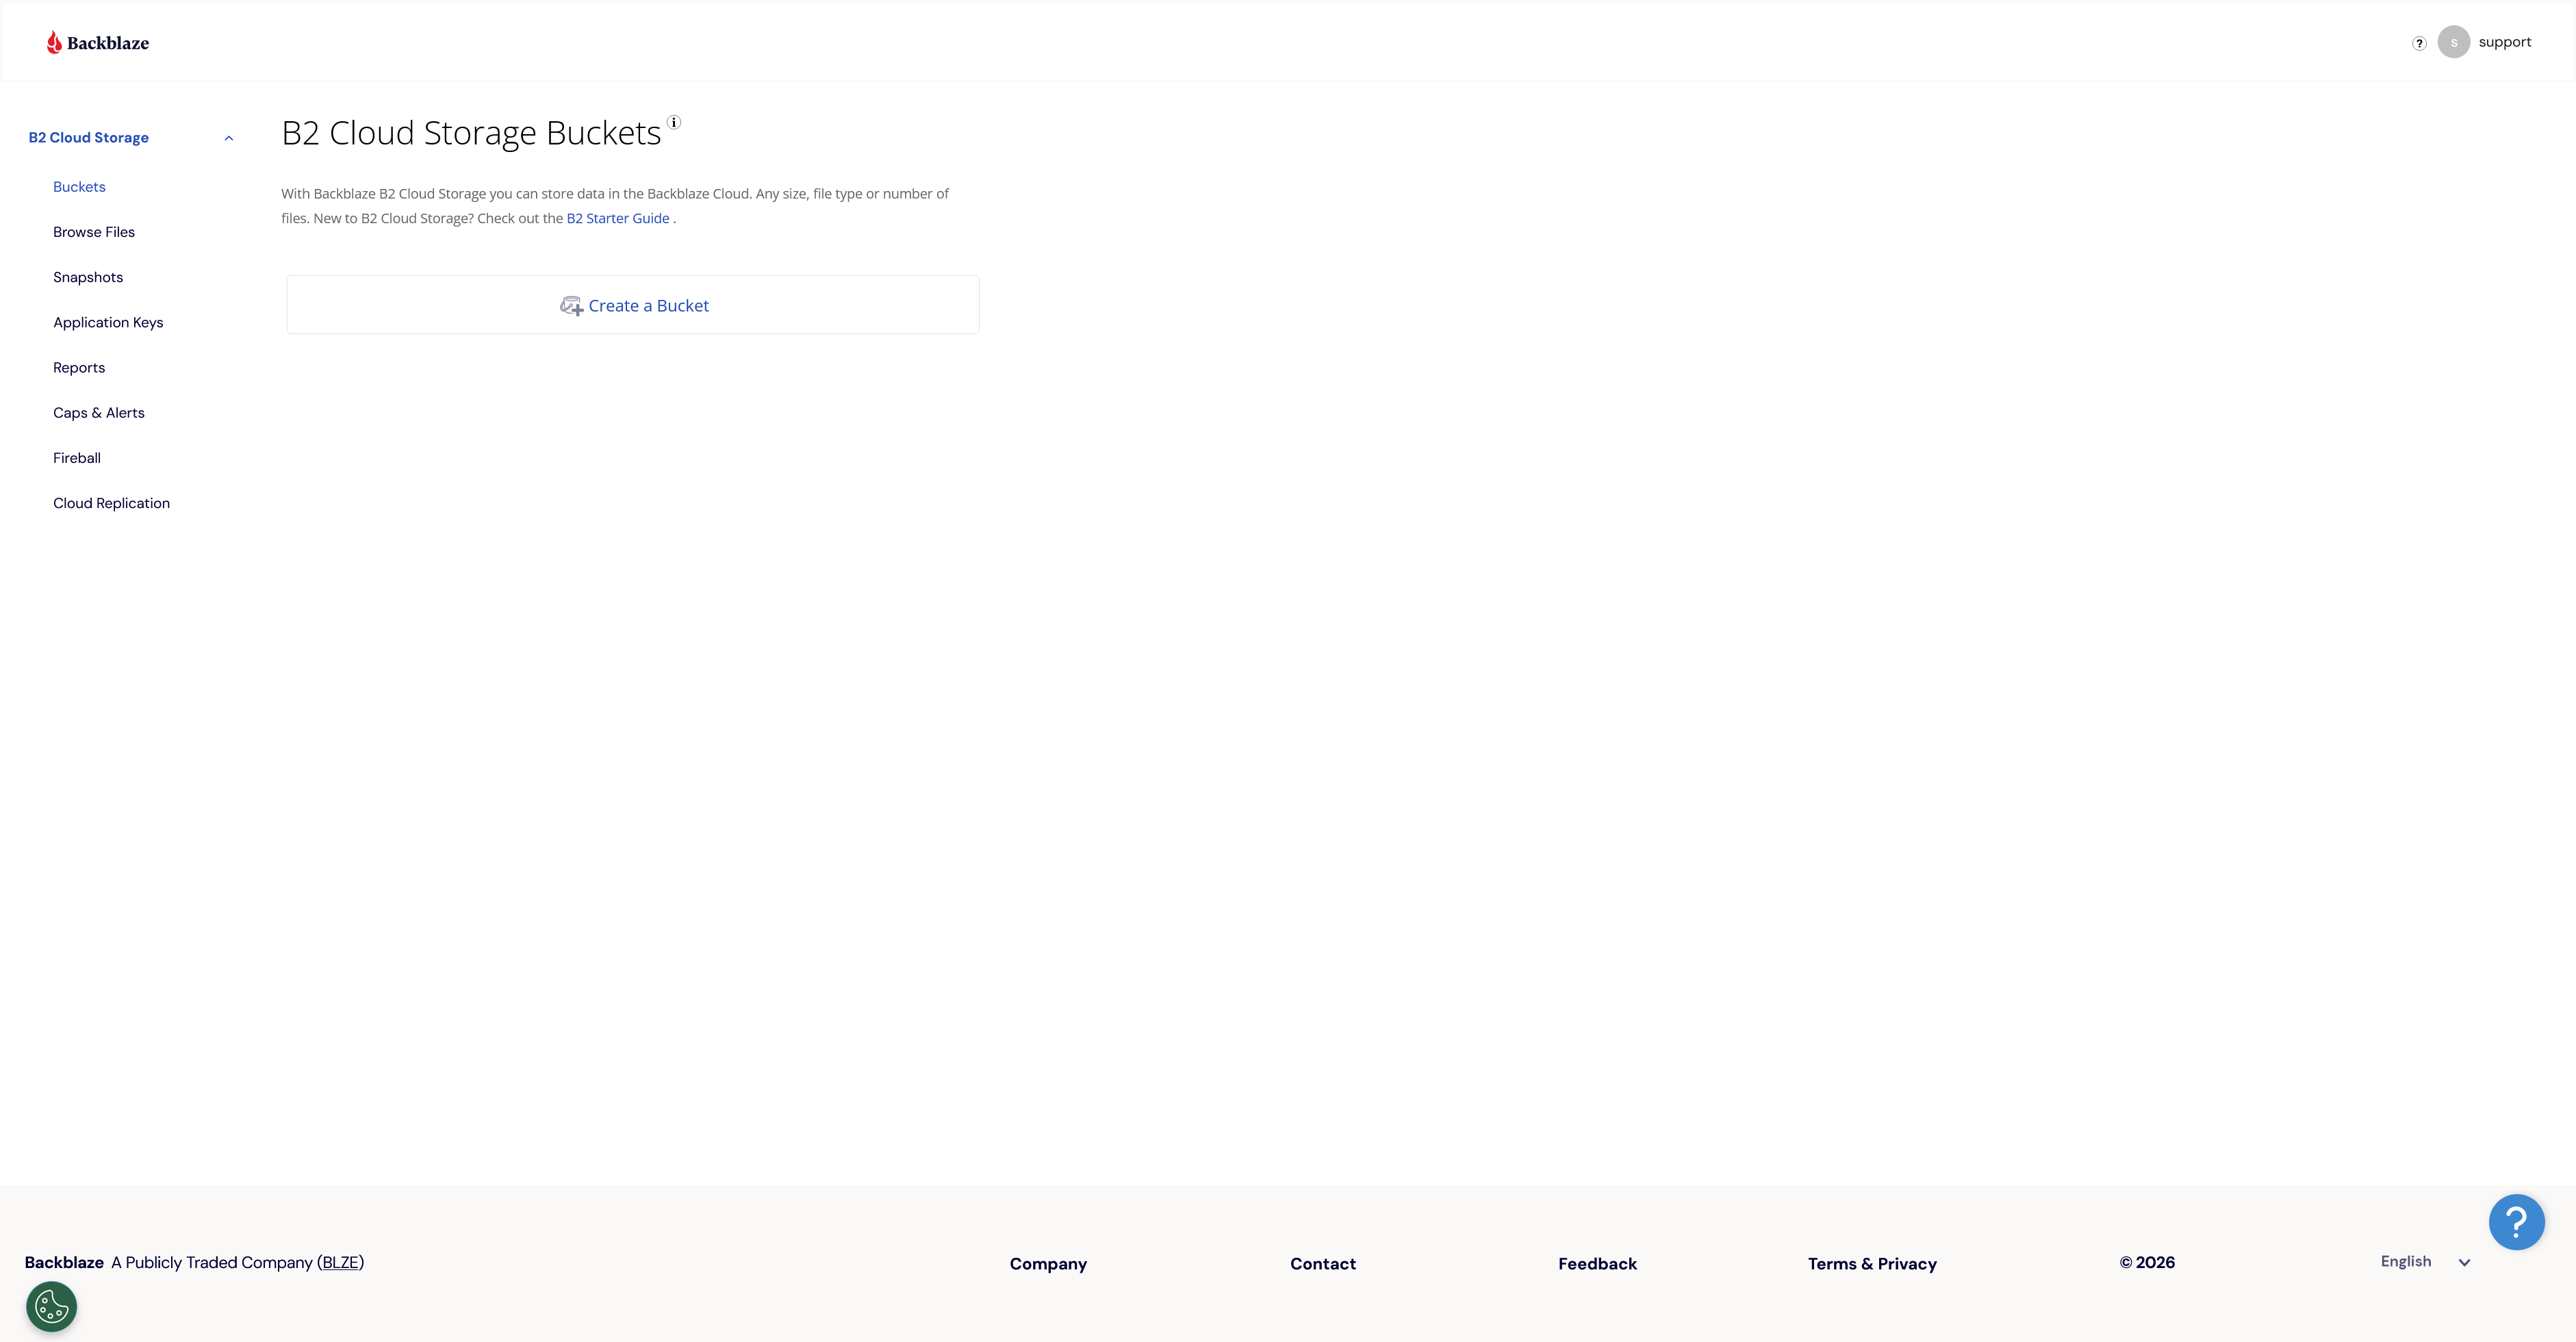
Create a Bucket
- Sign in to the Backblaze web console at backblaze.com.
- In the left sidebar, click B2 Cloud Storage → Buckets.
- Click Create a Bucket.
- Enter a unique bucket name — at least 6 characters. This name is globally unique across all Backblaze customers.
- Set Files in Bucket to Private. The app generates short-lived signed URLs for recipients, so the bucket itself should stay private.
- Leave encryption and object lock at their defaults, then click Create a Bucket.
us-west-004). You'll need it for the endpoint URL.
Create an Application Key
Application Keys let you grant scoped access to a single bucket without exposing your master key.
- In the left sidebar, click Application Keys.
- Click Add a New Application Key.
- Give it a descriptive name (e.g.
thefileshareplace-mybucket). - Under Allow access to Bucket(s), select your specific bucket from the dropdown — do not leave it set to "All".
- Set Type of Access to Read and Write.
- Leave the optional duration and file name prefix fields empty.
- Click Create Application Key.
- A dialog will show your keyID and applicationKey. Copy both immediately — the applicationKey is shown only once.

thefileshare.place/ prefix. The app will test this when you save the
bucket.
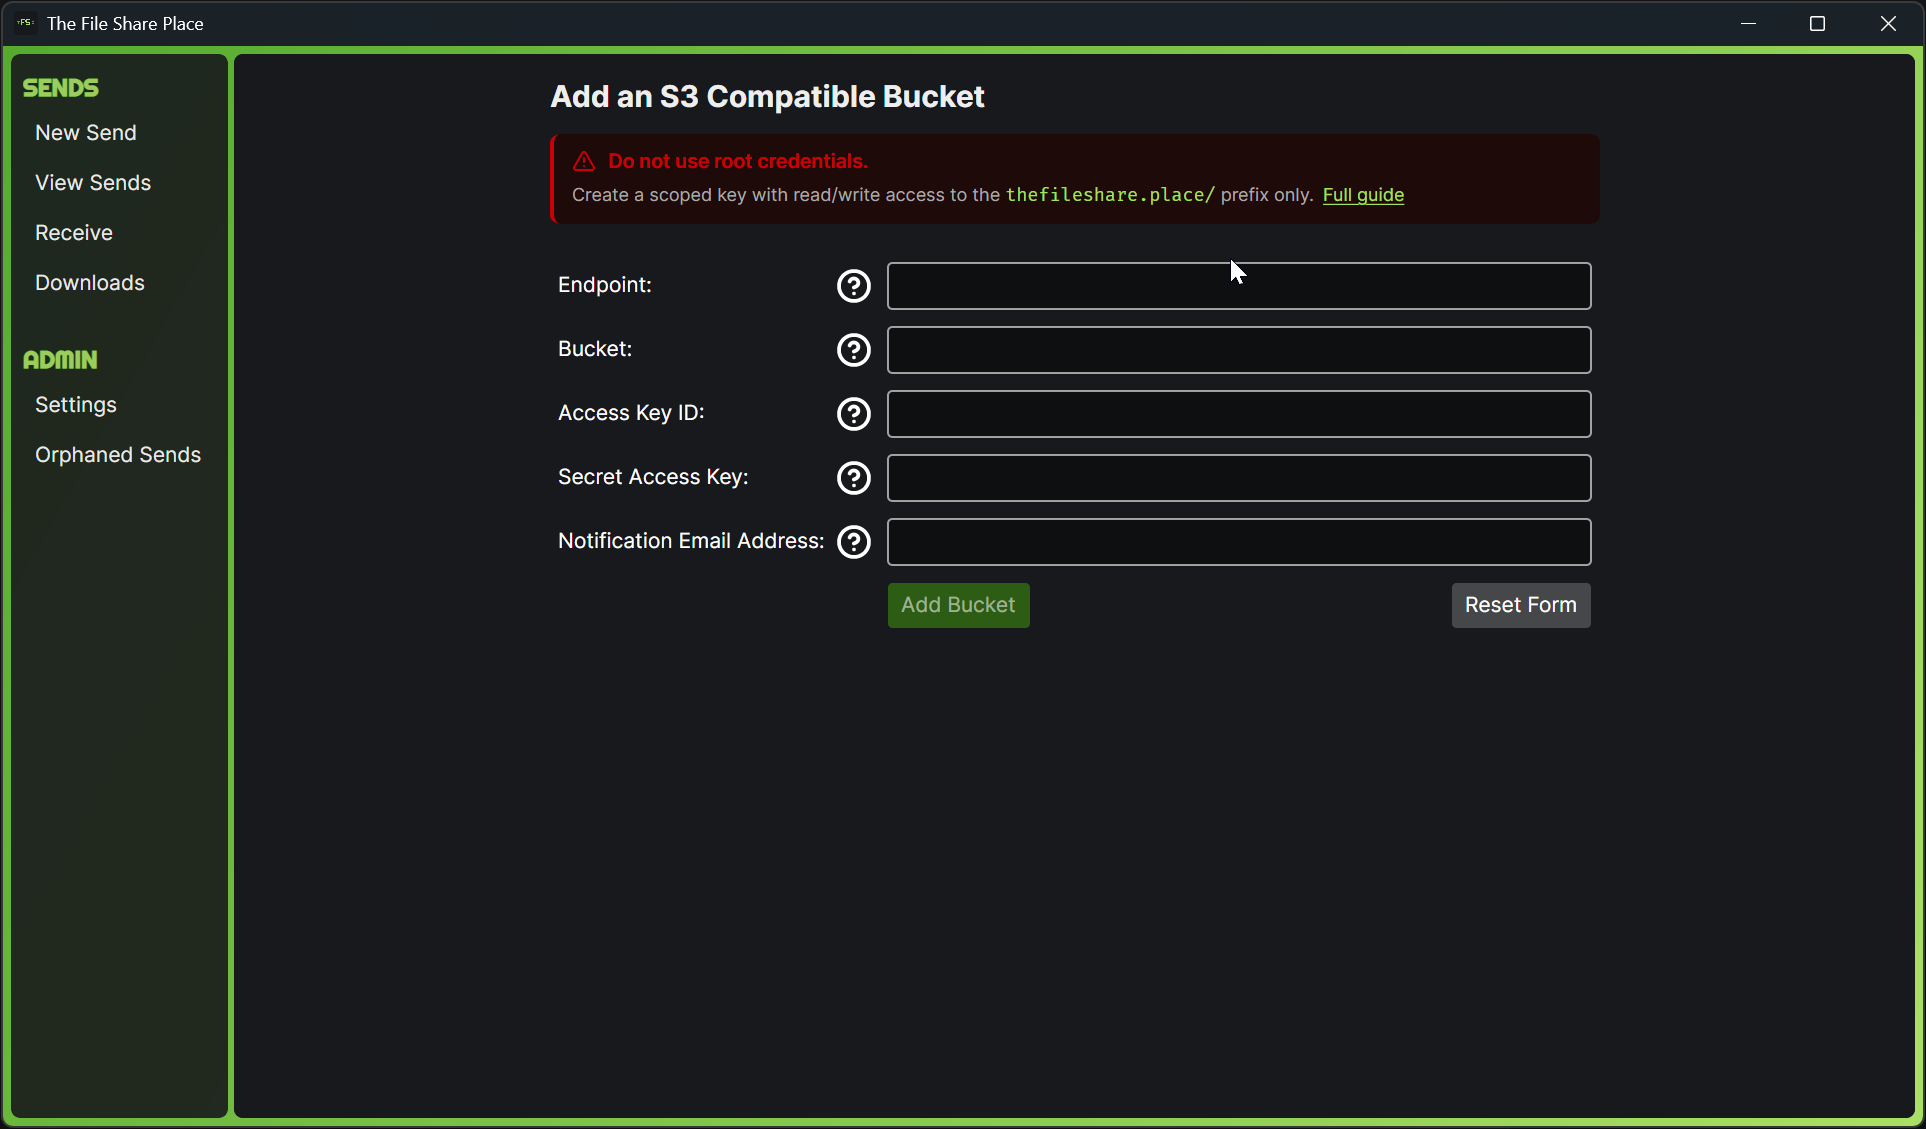
Add the Bucket to The File Share Place
- Open The File Share Place desktop app and go to Manage Buckets → Add Bucket.
- Enter your details:
| Field | Value |
|---|---|
| Endpoint | https://s3.<region>.backblazeb2.come.g. https://s3.us-west-004.backblazeb2.com
|
| Bucket Name | The name you chose in Step 1 |
| Access Key ID | The keyID from Step 2 |
| Secret Access Key | The applicationKey from Step 2 |
Enable Browser Downloads (CORS)
Recipients can download files either via the desktop app or directly in their browser. Browser downloads require a one-time CORS configuration on your bucket so the browser is allowed to fetch files from your storage provider.
Run this command using the Backblaze B2 CLI (pip install b2):
b2 bucket update --cors-rules '[
  {
    "corsRuleName": "tfsp",
    "allowedOrigins": ["https://thefileshare.place"],
    "allowedOperations": ["s3_head", "s3_get"],
    "allowedHeaders": ["*"],
    "maxAgeSeconds": 3600
  }
]' <your-bucket-name>Backblaze B2 Regional Endpoints
| Region | Endpoint |
|---|---|
| US East | https://s3.us-east-005.backblazeb2.com |
| US West | https://s3.us-west-004.backblazeb2.com |
| EU Central | https://s3.eu-central-003.backblazeb2.com |
Wasabi Hot Cloud Storage
Wasabi is priced similarly to Backbloze B2, but primarily designed for backup, not file transfers. "If your monthly egress data transfer is greater than your active storage volume, then your storage use case is not a good fit for Wasabi’s free egress policy." I recommend using wasabi if you are already in wasabi.
<your-bucket-name> in the policy JSON below as you type.
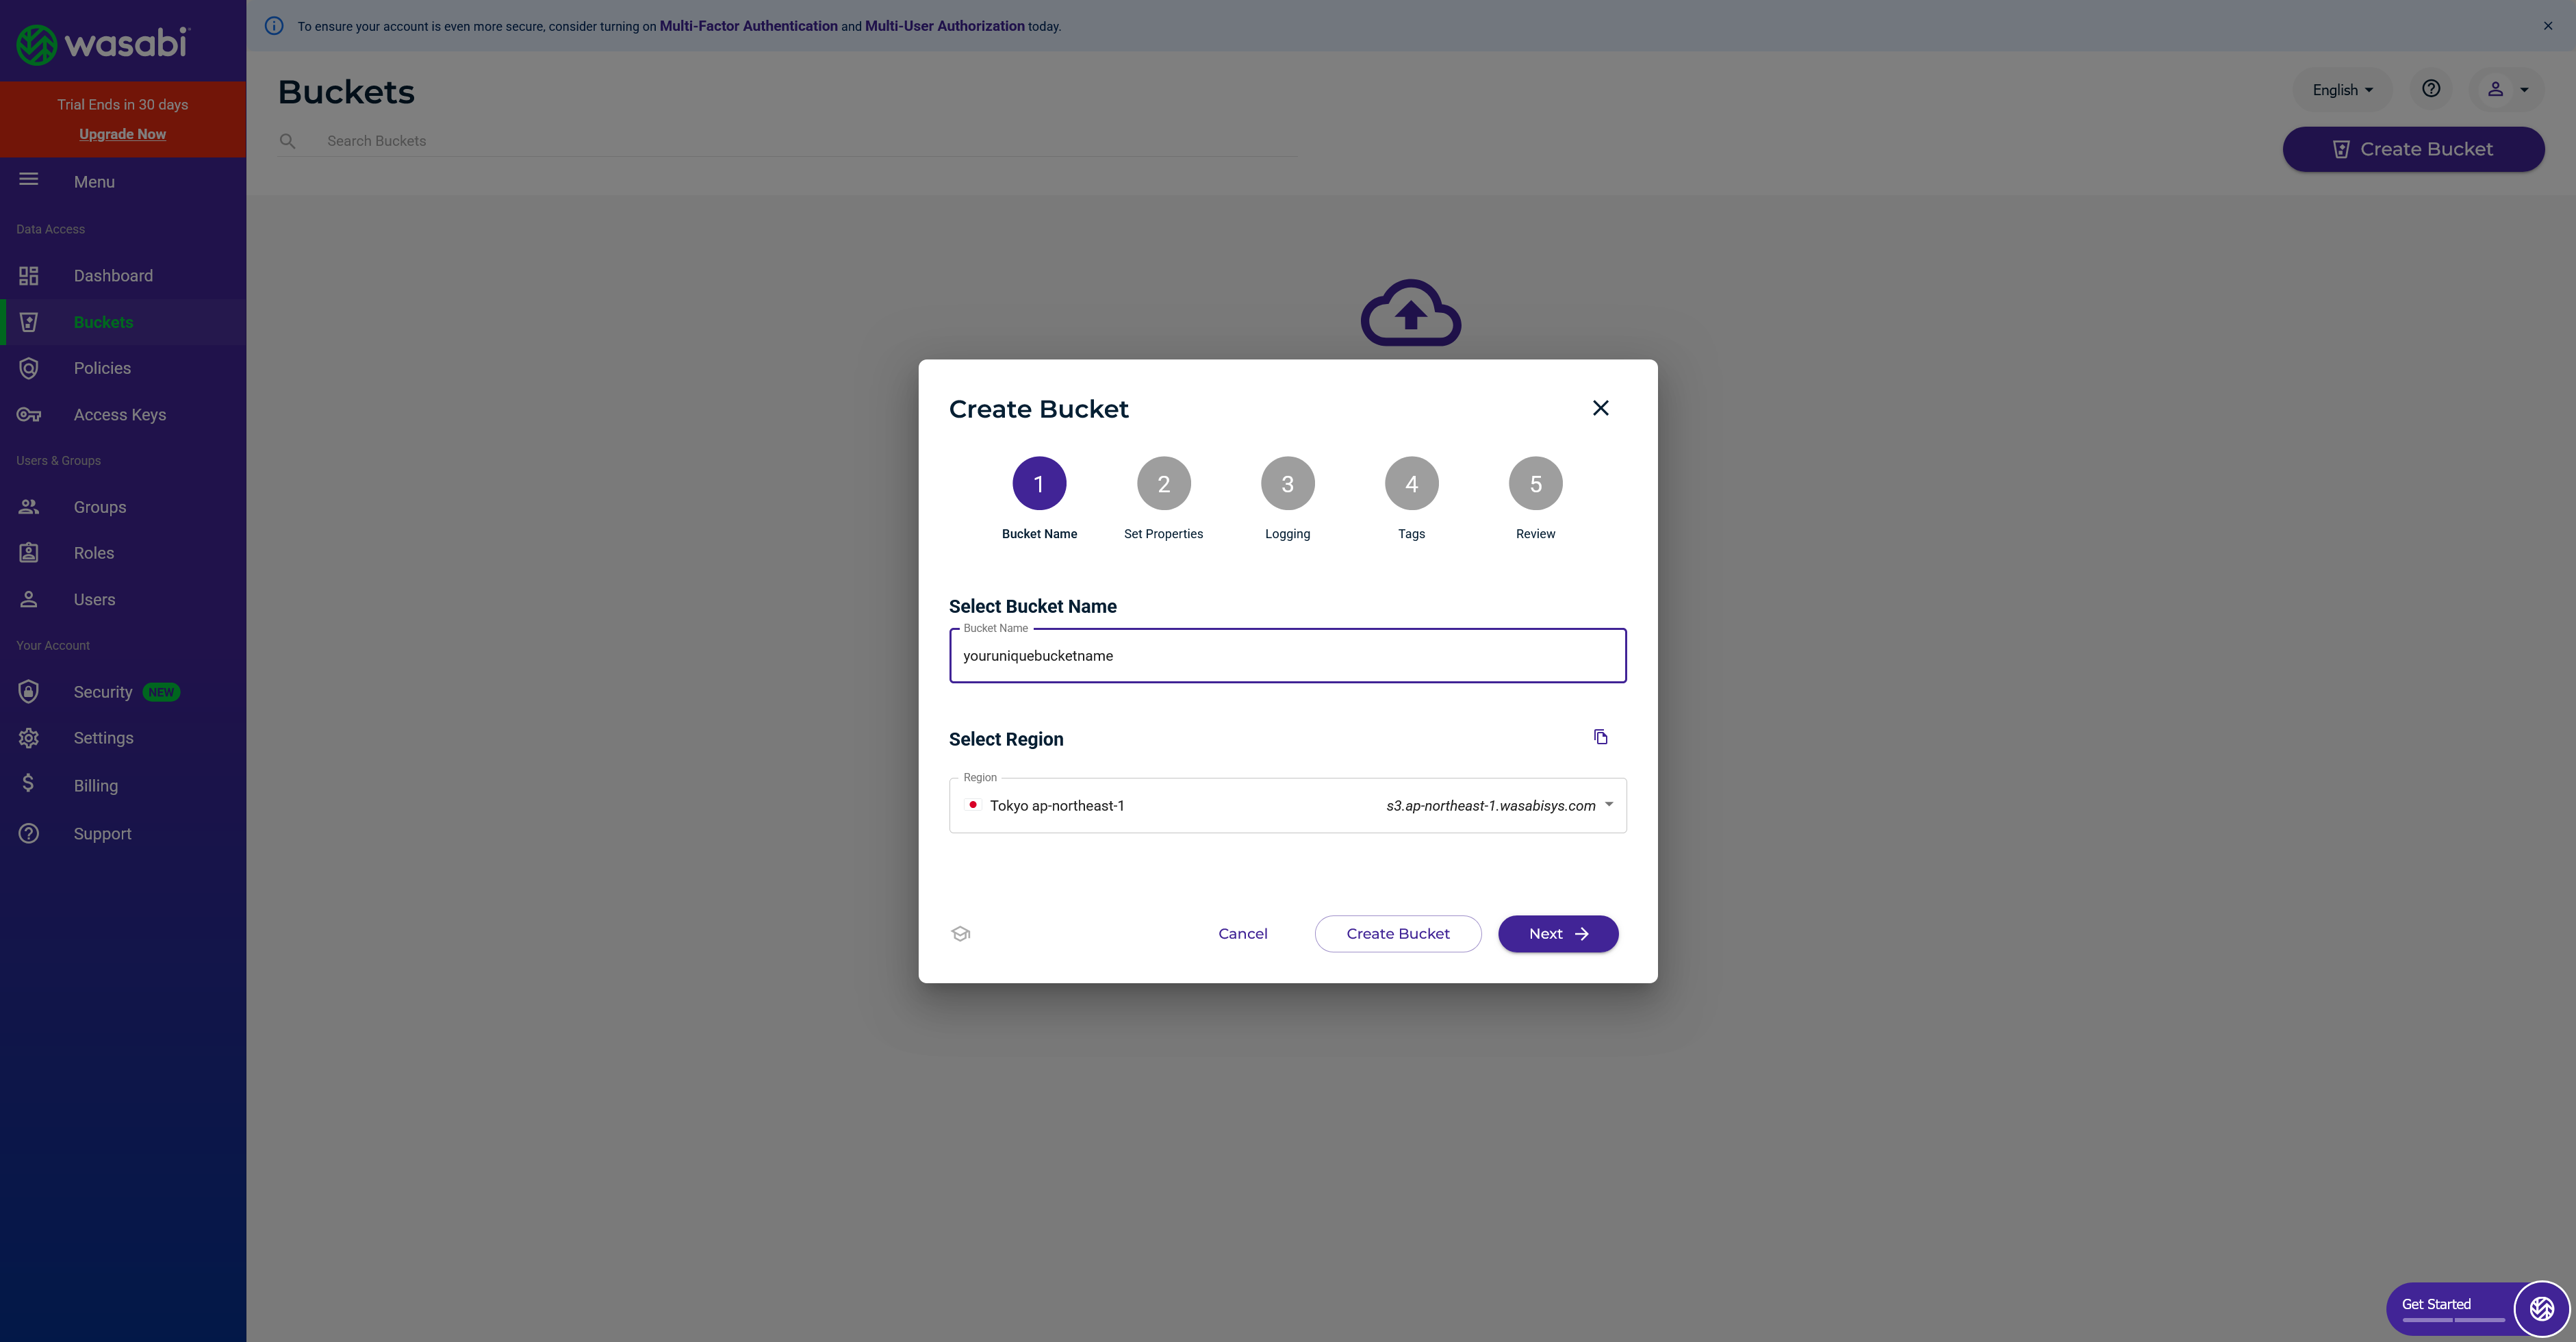
Create a Bucket
- Sign in to the Wasabi Console at console.wasabisys.com.
- Click the Buckets tab in the left sidebar.
- Click Create Bucket.
- Enter a unique bucket name and choose the Region closest to you or your recipients. Note this region — you'll need it for the endpoint URL.
- Leave all options on the Properties step at their defaults (versioning and object lock disabled, enable logs if you want to self validate access).
- Review and click Create Bucket.
Create a Custom Policy
Wasabi's built-in policies don't match what the app needs (read + write scoped to one prefix), so
create a custom policy that grants only the required S3 actions on the
thefileshare.place/ prefix of your bucket.
- In the left sidebar, click Policies, then Create Policy.
- Enter a name (e.g.
TheFileSharePlacePolicy). - Paste the JSON below, replacing
<your-bucket-name>with the bucket you created in Step 1. - Click Create Policy.
{
  "Version": "2012-10-17",
  "Statement": [
    {
      "Sid": "ObjectAccess",
      "Effect": "Allow",
      "Action": [
        "s3:GetObject",
        "s3:PutObject",
        "s3:DeleteObject",
        "s3:AbortMultipartUpload",
        "s3:ListMultipartUploadParts"
      ],
      "Resource": "arn:aws:s3:::<your-bucket-name>/thefileshare.place/*"
    },
    {
      "Sid": "BucketList",
      "Effect": "Allow",
      "Action": [
        "s3:ListBucket",
        "s3:ListBucketMultipartUploads"
      ],
      "Resource": "arn:aws:s3:::<your-bucket-name>",
      "Condition": {
        "StringLike": {
          "s3:prefix": ["thefileshare.place/*"]
        }
      }
    }
  ]
}WasabiFullAccess) or split into read-only and write-only variants that don't cover
multipart upload actions. This policy grants only what the app actually uses.
Create an Access Key
Create a sub-user (IAM user) and attach the policy you just created.
- In the left sidebar, click Users, then Create User.
- Enter a username (e.g.
thefileshareplace). - Check Programmatic (create API key).
- Click Next, skip through the Groups step, and on the Policies step attach the TheFileSharePlacePolicy policy you created in Step 2.
- Click Create User. A dialog shows the Access Key and Secret Key. Copy both immediately - the Secret Key is shown only once.

thefileshare.place/ prefix when you save the bucket.
Add the Bucket to The File Share Place
- Open The File Share Place desktop app and go to Manage Buckets → Add Bucket.
- Enter your details:
| Field | Value |
|---|---|
| Endpoint | https://s3.<region>.wasabisys.come.g. https://s3.us-east-1.wasabisys.com
|
| Bucket Name | The name you chose in Step 1 |
| Access Key ID | The Access Key from Step 2 |
| Secret Access Key | The Secret Key from Step 2 |
Enable Browser Downloads (CORS)
Recipients can download files either via the desktop app or directly in their browser. Browser downloads require a one-time CORS configuration on your bucket so the browser is allowed to fetch files from your storage provider.
- In the Wasabi Console, open the Buckets list and click the menu icon next to your bucket, then choose Settings.
- Open the Permissions tab and find the CORS section.
- Paste the JSON below and save.
[
  {
    "AllowedOrigins": ["https://thefileshare.place"],
    "AllowedMethods": ["GET", "HEAD"],
    "AllowedHeaders": ["*"],
    "MaxAgeSeconds": 3600
  }
]Wasabi Regional Endpoints
| Region | Endpoint |
|---|---|
| US East 1 | https://s3.wasabisys.com or https://s3.us-east-1.wasabisys.com
|
| US East 2 | https://s3.us-east-2.wasabisys.com |
| US West 1 | https://s3.us-west-1.wasabisys.com |
| EU Central 1 | https://s3.eu-central-1.wasabisys.com |
| EU West 1 | https://s3.eu-west-1.wasabisys.com |
| EU West 2 | https://s3.eu-west-2.wasabisys.com |
| AP Northeast 1 | https://s3.ap-northeast-1.wasabisys.com |
| AP Southeast 1 | https://s3.ap-southeast-1.wasabisys.com |
| AP Northeast 2 | https://s3.ap-northeast-2.wasabisys.com |
Cloudflare R2 Object Storage
Cloudflare R2 has zero egress fees and is tightly integrated with the Cloudflare network, making it ideal if you're already using Cloudflare. The endpoint URL uses your unique Cloudflare Account ID rather than a regional name. R2 is a strong choice when you expect files to be downloaded frequently.
Scenario: 100 GB stored, each file downloaded 4× per month (400 GB egress). Storage and egress are the dominant costs for file-sharing workloads.
| Cost component | Backblaze B2 | Cloudflare R2 |
|---|---|---|
| Storage — 100 GB $0.00695/GB vs $0.015/GB |
$0.70 | $1.50 |
| Egress — 400 GB $0.01/GB vs free |
$4.00 | $0.00 |
| Monthly total | $4.70 | $1.50 |
R2 saves $3.20/month in this scenario despite its higher storage rate — because Backblaze charges $0.01/GB for every gigabyte downloaded. The break-even point is around 80 GB of egress per month (roughly 0.8× your storage volume). Once your recipients are downloading more than that, R2 comes out ahead. At 4× downloads the egress bill on Backblaze alone is nearly 6× R2's entire bill.
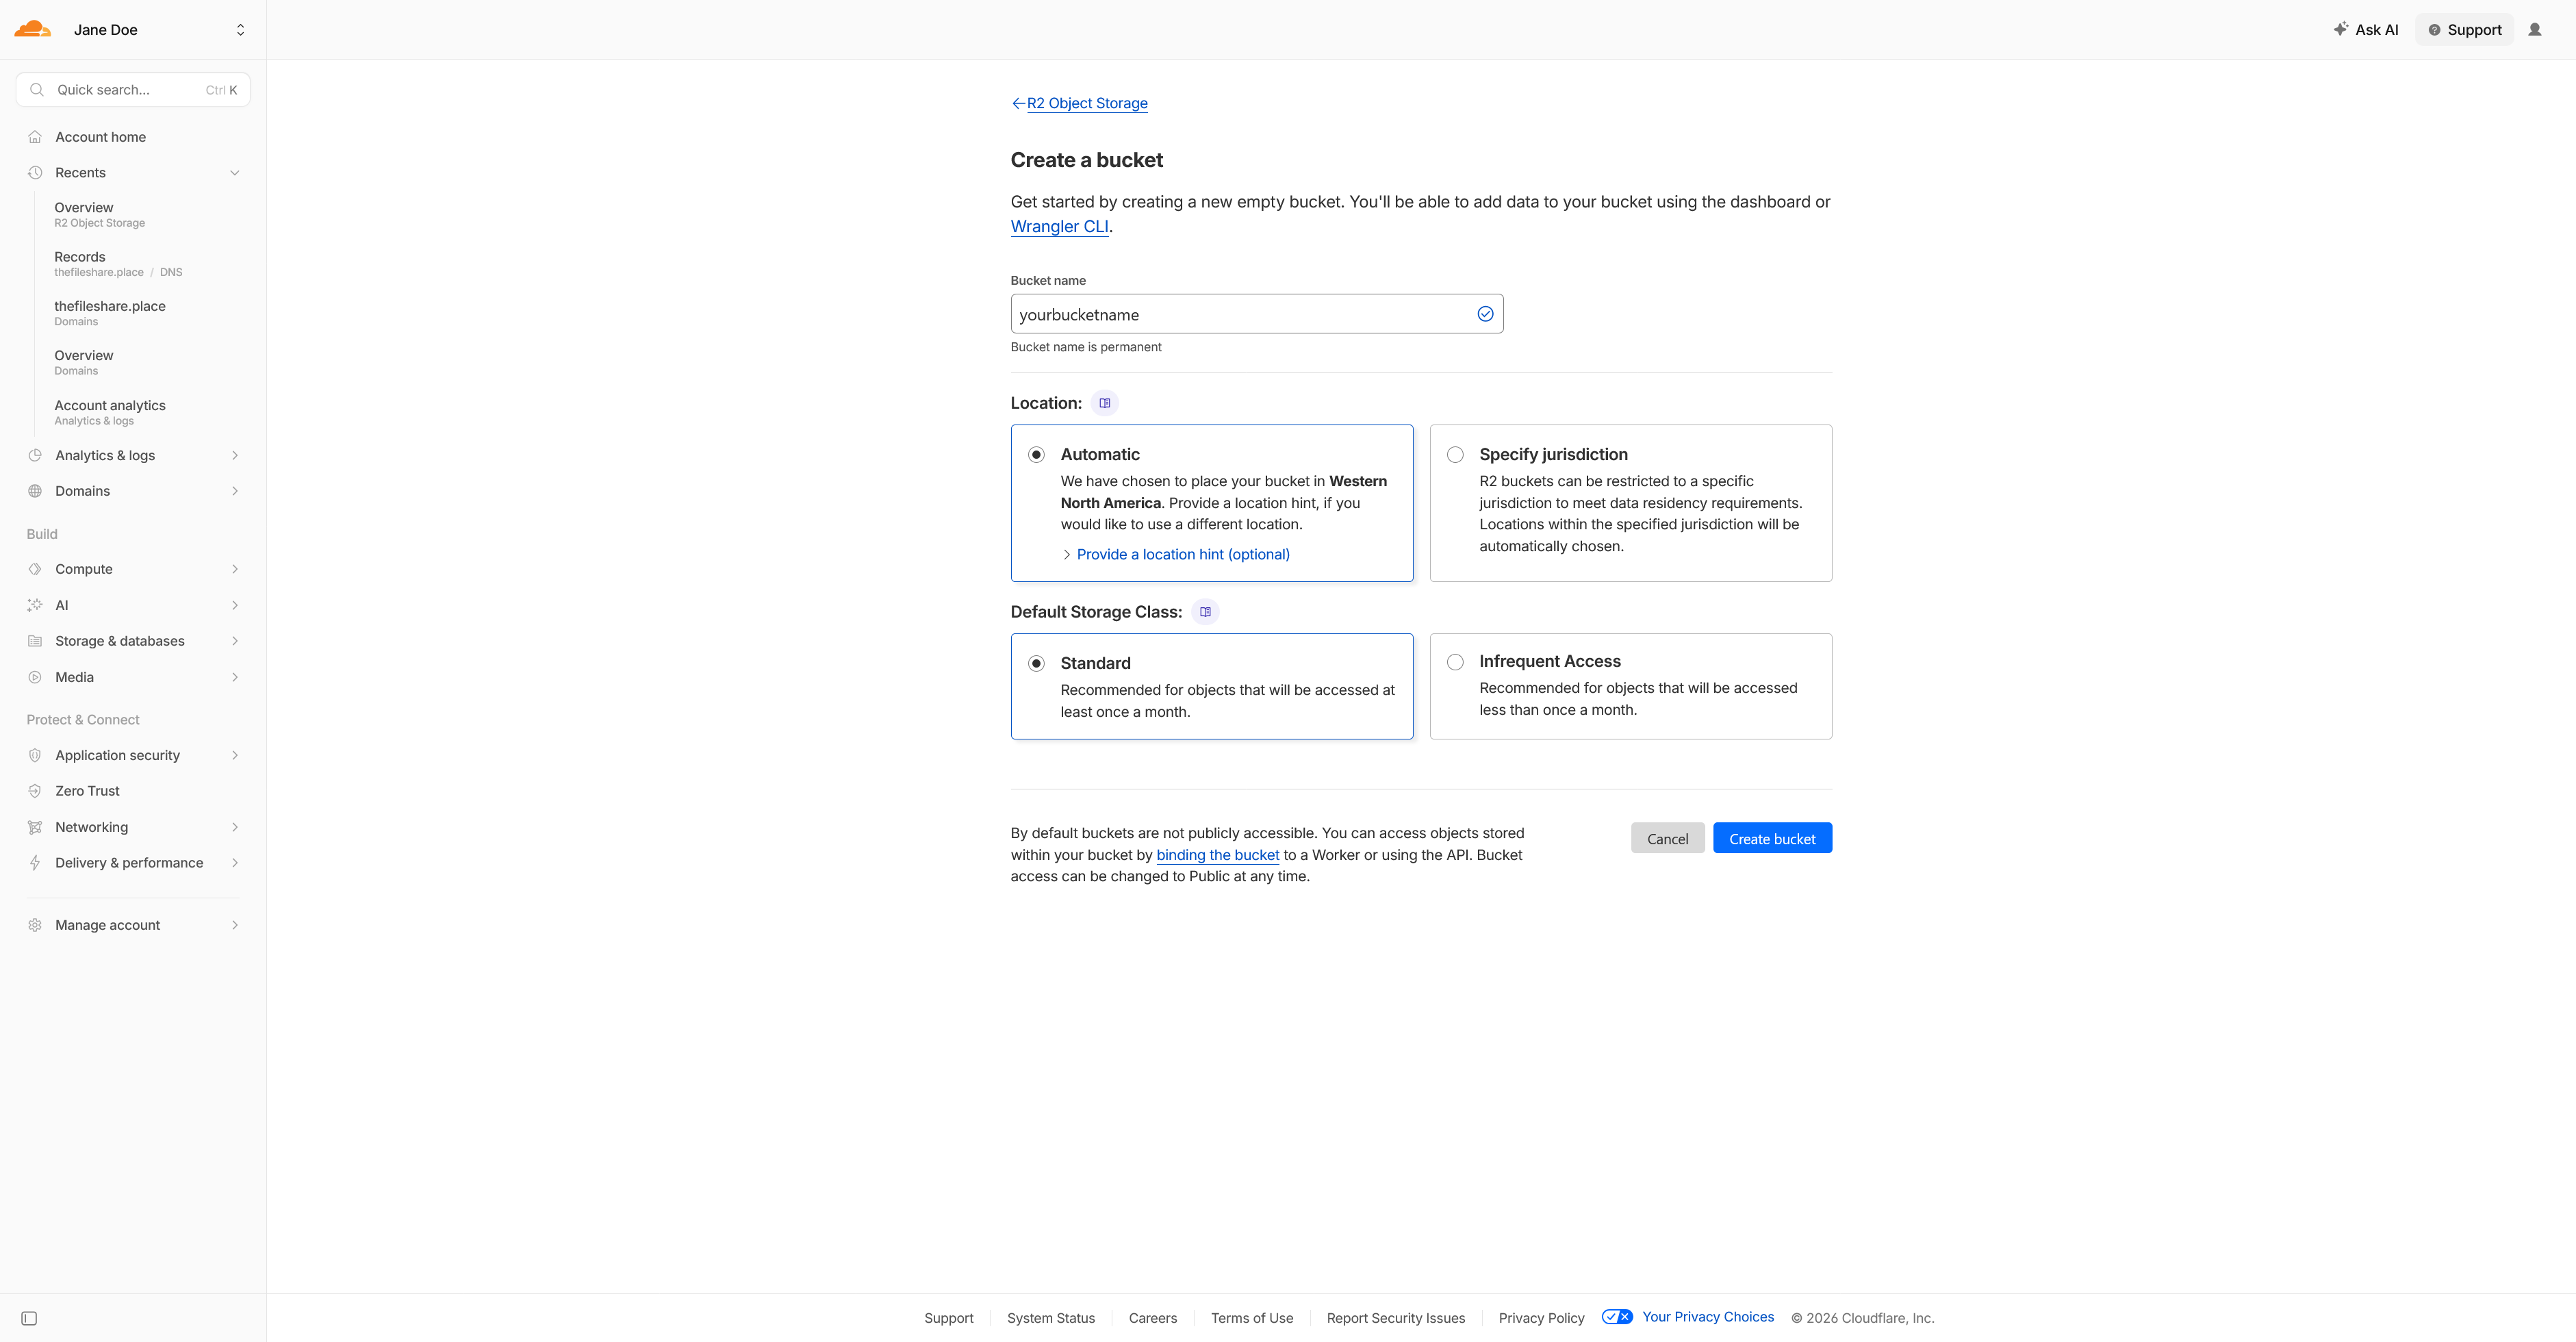
Create a Bucket
- Sign in to the Cloudflare Dashboard at dash.cloudflare.com.
- In the left sidebar, click R2 Object Storage.
- Click Create bucket.
- Enter a bucket name (3–63 characters, lowercase letters, numbers, and hyphens only).
- Optionally choose a Location for data residency (e.g. Western Europe, Asia Pacific). The default uses automatic placement.
- Leave the storage class as Standard and click Create bucket.
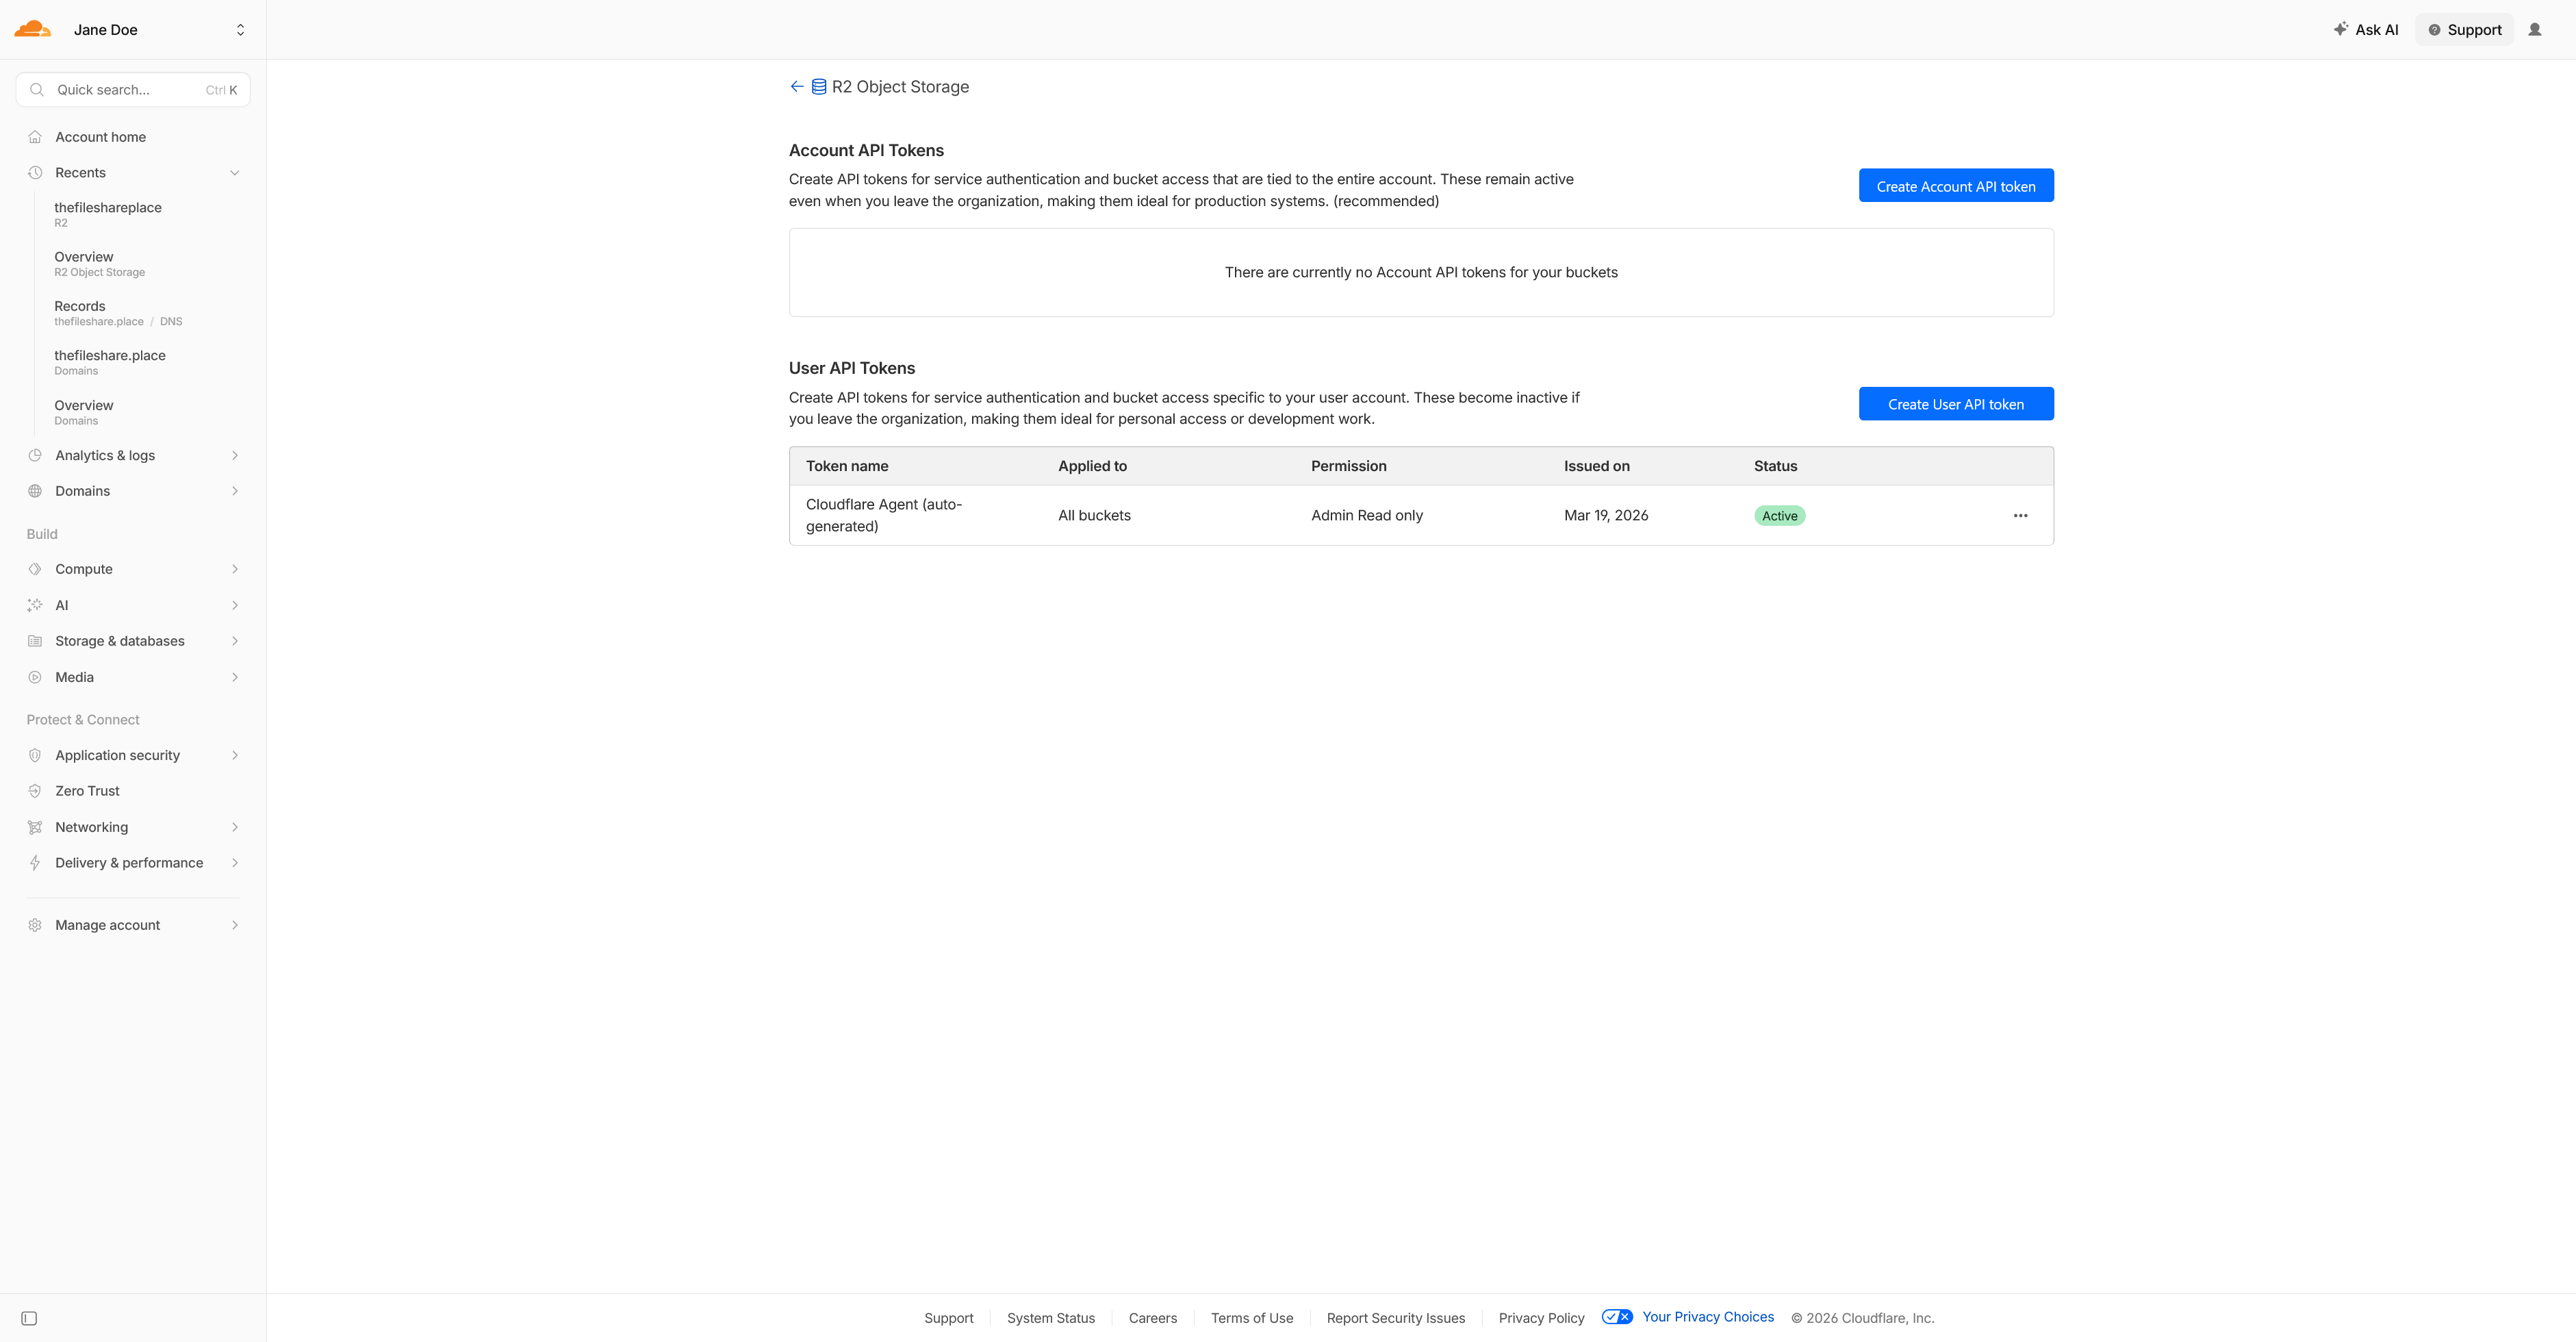
Create an API Token
- From the R2 Overview page, scroll to API Tokens and click Manage R2 API tokens.
- Click Create API token.
- Give it a name (e.g.
thefileshareplace). - Set Permissions to Object Read & Write.
- Under Specify bucket(s), select your specific bucket — do not leave it set to "Apply to all buckets".
- Optionally set a TTL to expire the token automatically.
- Click Create API Token.
- The confirmation page shows your Access Key ID and Secret Access Key. Also note the Endpoint URL on this page. Copy all three immediately — the Secret Access Key is shown only once.
Add the Bucket to The File Share Place
- Open The File Share Place desktop app and go to Manage Buckets → Add Bucket.
- Enter your details:
| Field | Value |
|---|---|
| Endpoint | https://<ACCOUNT_ID>.r2.cloudflarestorage.comShown on the API token confirmation page |
| Bucket Name | The name you chose in Step 1 |
| Access Key ID | The Access Key ID from Step 2 |
| Secret Access Key | The Secret Access Key from Step 2 |
https://<ACCOUNT_ID>.eu.r2.cloudflarestorage.com as the endpoint instead.
thefileshare.place/ prefix. The app will test this when you save the
bucket.
Enable Browser Downloads (CORS)
Recipients can download files either via the desktop app or directly in their browser. Browser downloads require a one-time CORS configuration on your bucket so the browser is allowed to fetch files from your storage provider.
- In the Cloudflare dashboard, go to R2 Object Storage → your bucket → Settings.
- Scroll to CORS Policy and click Add CORS policy.
- Switch to the JSON editor, paste the JSON below, and save.
[
  {
    "AllowedOrigins": ["https://thefileshare.place"],
    "AllowedMethods": ["GET", "HEAD"],
    "AllowedHeaders": ["*"],
    "MaxAgeSeconds": 3600
  }
]